
I love Valentines! Well now that I am married and have two precious little boys to be my Valentines, I do. While out shopping I came across these super cute mailboxes in the dollar section at Target and grabbed them. Then a few days later I saw a great idea on Pinterest (yes I am an addict) that used candlesticks as posts for your mailbox. Well I loved the idea but couldn't find any cheap candlesticks, and ran out of time to look (bummer), so I used what I had on hand. I just so happened to have two metal candle holders (dollar tree, that store makes me so happy) that I thought would work.

I just had to do a little modifying and my candle holders became mailbox posts! All I did was bend the flat metal part that the candles sat on, this was fairly easy, until they snapped off and that was that.


Next up, I went to my handy dandy Cricut and used my Storytime Cartridge and cut out some sweet little hearts for our mailbox flags. Peel them off your mat and put them in place. Then I used my Varsity Cartridge to cut out the first initial for each of my boys (I was hoping this font would help it look like a little boys mailbox). I played with the idea of cutting out numbers (their birth dates) for the mailbox number, but to me simple looked better so I just left it at the heart and initial. Sorry about the glare on the picture below!

To put the initials on the front of the mailbox I did use the help of a little transfer paper, just to make sure I got it straight.

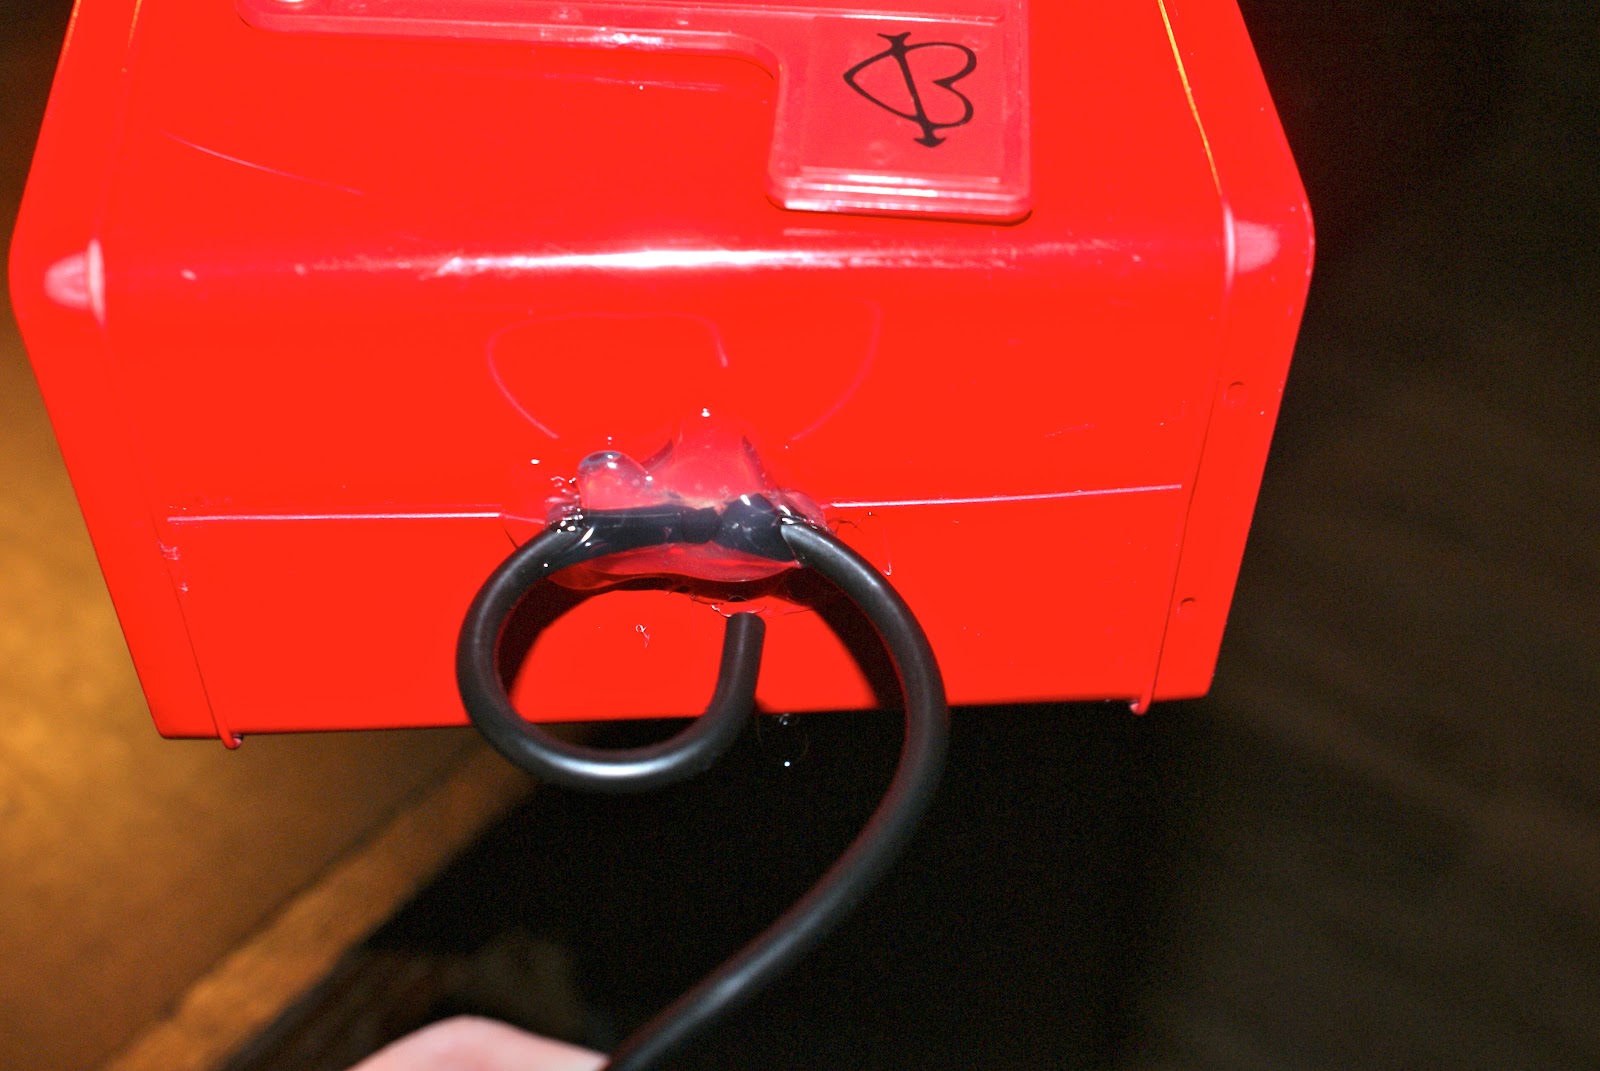
Okay to attach my stand to my mailbox I just used some hot glue. I did a big ole glob of it right in the center and held my stand in place (make sure its straight) until my glue set. My mailboxes are not going anywhere that the bottoms will be visible (unless you pick it up) so I didn't mind using the hot glue. After your glue dries, your done! The blog I am linking up to shows these done with wooden candlesticks painted black and they are so adorable!! Like I said I just used what I had and I love them just as much, but if your worried that the glue part might show then you may want look into the solid wood candlesticks. The bottoms of those seem a bit neater.


Of course the boys had to have their first Valentines to go into their mailboxes, so I made some. Again I used my Cricut (Wild Card Cartridge) and cut out the Owl Card. Then I just glued the pages together and used a black marker for a little detail on our owls. On the back I put "Owl" Always Love You, cheesy I know, but I just couldn't help myself!


Cute, Cute, Cute!!! If I do say so myself! The boys loved their little mailboxes and their cards! And the entire project cost less than $5! Fun way to add a little something to the holiday!!


My sweet babies! I will always love them more than they will ever know!!

We put our mailboxes up on the mantel right beside our Valentines artwork! But I am thinking they will probably end up in their rooms, still undecided! Hope everyone has a very Happy Valentines!!

Linking up to:
No comments:
Post a Comment